Woodworking
How To Cut Baseboard Corners with Miter Saw
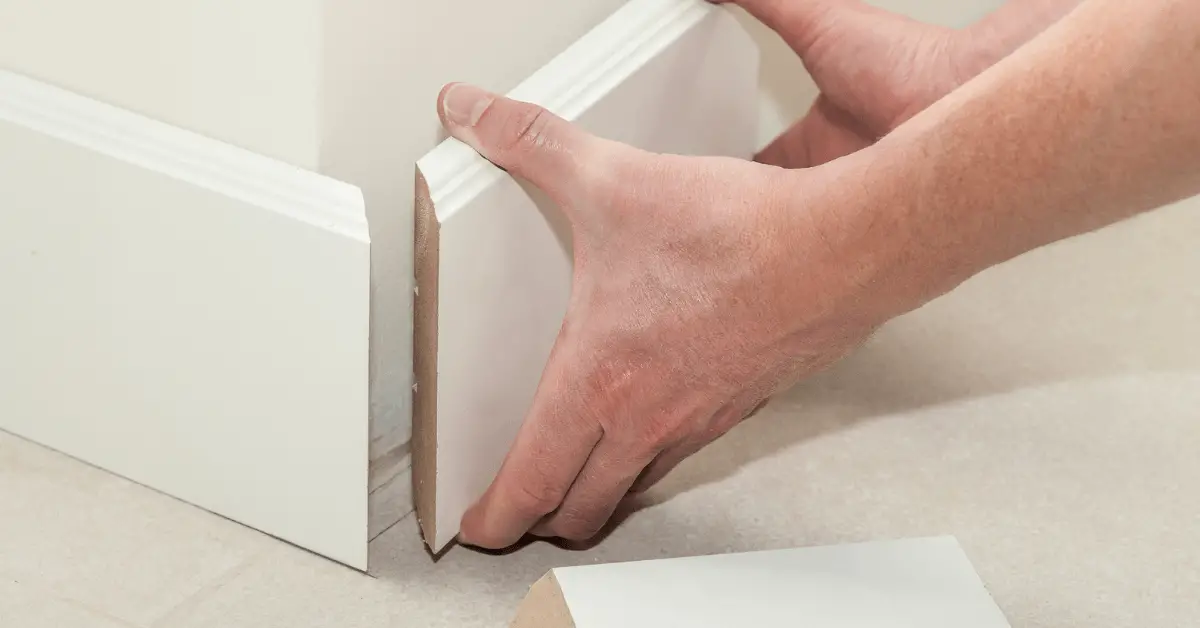
Is it already time for your next home renovation? Or are you doing some DIY woodworking projects? Either way, it's time to cut and trim some baseboards. But how to cut baseboard corners?
Fortunately, this process is pretty straightforward, and after a bit of practice, you'll know how to properly utilize a miter saw and cut baseboard corners with it.
Most beginner woodworkers worry or get overpowered in the middle of the cutting procedure due to the different terms and types of baseboard corner cuts needed to fit a baseboard molding adequately.
To assist you in cutting baseboard corners, this multi-step guide has enough information to help you maneuver the process, from the tools required to the how-to guide that explains how to go about the process.
Here we go!

How to cut baseboard corners using a miter saw
As with all woodworking tasks, you'll require a couple of tools to achieve your objective. So, when it comes to cut baseboard corners, here's what you'll need;
- Safety glasses
- Measuring tape
- Pencil
- Miter saw (Check out our favorite 2 miter saw comparisons: Dewalt DWS779 vs DWS780
- Clamp (Guide to woodworking clamps)
- Dust mask
Step One: Making the Scarf Joint Cut
Look for the lengthiest wall to make this process easier. Also, if you own a baseboard molding that's a bit lengthier than the wall in your home, you can begin with it.
Cautiously measure and make cuts on the baseboard at every end at a right angle. This will make them run into either side's vertical wall.
In case you're using two boards for the wall, you can effortlessly join them via a scarf joint. This type of joint links two 450 cuts on various boards.
It would be best to cut and position the two pieces for the scarf joint to be attached to the wall in a secure position. Start with the two board pieces with right angle cuts at opposite ends.
When it comes to making the scarf joint cut at the center, place the first piece on an even surface and mark the 45-degree cut you'll make in a stud position. Then, utilize the miter saw to make a cut on the end of this board at a 450 angle and finalize by sanding. Nevertheless, avoid over sanding it.
Finish up by hammering it in place using several finish nails and ensure the nail heads are visible.
Measure the second baseboard piece and ensure that you draw a precise 450 cut from the previous piece. Once you're done cutting it, fit it together with the first one. However, if there is a marginal bow, you can cut the end where there's a right angle cut once more.
Besides, you can join these two pieces using wood glue at the joints and push them together.
To ensure that the scarf joint is in position, hammer a single nail towards the base on an elevated position. What's more, this makes it simpler to fill afterward. Also, hammer another nail toward the top and drive it toward the top while angling it towards the upper part of the profile.
Step Two; Making the Interior Corner Joint Cut
A coped joint is where the two baseboard pieces usually meet in the corner joint. It should not be a butt joint since there will be some space left between the two baseboards.
For this reason, the cope joint is a much better option since it won't leave any gaps. To form a cope joint, you're supposed to butt the first piece against the wall at a right angle.
After this, set down the other piece facing down on the floor. Then, take a scrap baseboard piece, place it perpendicularly to the previous piece, and trace its shape and size with a pencil. The purpose of tracing is for reference when you're finalizing on creating the coped joint.
Cut along the baseboard's profile and create a bevel cut somewhat smaller than the profile at a right angle; approximately 1/6 of an inch would be perfect.
Lastly, remove the remaining bevel using the three-square and half-round files till it fits against the other one leaving no space.
Step Three; Outside Corners Miter Joints
Measure, cut out and fit the molding around the room. Upon getting to an outside corner, position the first baseboard piece so that it stretches beyond the outside corner.
Then ensure you mark it where it is supposed to meet the second piece of the corner by positioning the try square against the wall surface they will meet.
Utilize a miter saw to make the baseboard cut at an angle of 45 degrees. Ensure you similarly mark the second baseboard piece and check whether it fits prior to nailing it in position. Also, remember to use wood glue before joining these two baseboard pieces together.
Finally, it would be best to utilize 1.5 -inch or 1.25-inch brads to close this corner. Also, once you arrive at the doorway, take the distance between the door casing and the wall. This baseboard will fit on the door casing with a right-angle cut.
Safety measures
Above everything else, or even beginning the project, you should make sure that you take the necessary safety precautions.
For instance, a miter saw is a potent tool featuring an extremely sharp and circular jagged razor blade, and this is something you need to be very careful with when using. Always make sure the miter saw is switched off when not in use, and there's no power transfer to it before placing anything, even wood, on the cutting surface.
Moreover, make sure that you hold back long hair using a hair clip or rubber band. Also, avoid wearing any loose attires. Above everything else, make sure you have safety goggles, which keep your sight clear even when sawdust flies around the air.
Why You Should Trust Us
At Woodworking Tool Guide, we know one size doesn't fit all! We cater to every woodworker, from beginner to pro, with insights and recommendations tailored to your skill level, project needs, and budget. We take the guesswork out of choosing the right tools, whether you're tackling your first crafting a masterpiece for the ages. So grab your chisel, join our community, and let's build something amazing together!
Woodworking Tool Guide wasn't just born, it sprouted from a seed of passion for the craft. What started as a joyful exploration blossomed into a trusted online haven for fellow enthusiasts like you. We pour our love into meticulously chosen review selections, meticulous hands-on testing, and lab-backed insights, all to empower you with reliable, comprehensive information you can build on. So, grab your tools, trust our guidance, and let's build something beautiful together!
Passion-Driven Expertise
Our journey started with a shared love for woodworking. The team behind the Woodworking Tool Guide is comprised of individuals who are not just writers but passionate woodworkers themselves. This shared enthusiasm ensures that our content is crafted with a deep understanding of the craft and an authentic appreciation for quality tools.
Top Tool Guides Online
Woodworking Tool Guide has rapidly ascended to become one of the premier online destinations for tool guidance. Our commitment to excellence and the accuracy of our information has positioned us as a reliable source for both beginners and seasoned woodworkers seeking trustworthy advice on the best tools for their projects.
User-Centric Approach
Our content caters to every woodworker, from rookies just starting out to seasoned pros tackling intricate projects. We tailor our insights and recommendations to your skill level, project needs, and budget, ensuring you find the perfect tools to match your unique woodworking journey. So step into your workshop, grab your tool belt, and let Woodworking Tool Guide be your trusted companion as you craft your masterpieces.
Continuous Support and Innovation
Woodworking is an ever-evolving craft, and so is our commitment to supporting you. We are dedicated to bringing you the latest information on woodworking tools, techniques, and trends. Our team is actively working to expand our content and bring you more valuable insights, ensuring that you stay well-informed in your woodworking adventure.
Hands-On Experience
Ditch the endless research rabbit hole! At Woodworking Tool Guide, we believe in actionable advice, not armchair analysis. We get our hands dirty, putting every tool through its paces in real-world woodworking scenarios. Whether it's the precision of a table saw, the versatility of a router, or the tactile satisfaction of a handplane, we test for performance, durability, and user-friendliness. No more sifting through dry specs – we deliver practical insights you can trust to transform your woodworking dreams into reality.
Woodworking Tool Guide isn't just a review site, it's your trusted companion on the sawdust-filled path to woodworking mastery. Our expert team, led by veteran David Jones, meticulously tests and explains tools in terms you understand. We cut through the jargon, bias, and confusion with real-world insights and honest evaluations. Join our passionate community, where decades of experience, cutting-edge knowledge, and shared love for the craft come together to guide you every step of the way. So grab your chisel, buckle up, and let's embark on this exciting woodworking adventure, together!
Conclusion
Well, there it is, how to cut baseboard corners using a miter saw. Even though it is possible to cut baseboard corners with other power tools, utilizing a miter saw to make these cuts makes the job much easier. Truth be told, cutting baseboard is what this power tool was designed for, among other uses.